
How to Price a Latte (With the Math)

We are Dripos, all-in-one software for coffee shops. We support about 3% of the coffee shops in the US, we have processed over $1B in coffee shop payments, and we spend our days helping operators run better businesses. Pricing is one of the questions we hear most, so here is how we walk owners through it.
TLDR: Add up what a latte costs you in ingredients, divide by the share of the price you want those ingredients to take (25 to 30 percent is a common target), then check the result against your labor, rent, and what your neighbors charge. For a $1.20 latte, that lands between $4.00 and $4.80.
First, a confession: pricing is one of the hardest parts of running a coffee shop, and nobody hands you a manual. Milk, beans, cups, and rent have all crept up, and it feels like every invoice is a little worse than the last. If you have ever stared at your menu and wondered whether you are charging too much or too little, you are in very good company. Let's walk through it together, one step at a time.
Step 1: Cost out the actual cup
Start with one drink. A 12 oz latte, built the way your baristas really build it, not the way the recipe card says.
Typical ranges for a 12 oz latte, per Bellwether Coffee and Coffee Machine Depot:
- Coffee: $0.40 to $0.60
- Milk: $0.30 to $0.50
- Cup, lid, sleeve: $0.15 to $0.25
- Syrup, sugar, other: $0.10 to $0.20
We will call it $1.20 for our example. Your number will be different, and that is fine. Pull it from your own invoices instead of a blog post, including this one. Weigh your dose and measure your pour. A 19 gram shot that drifts to 21 grams across 300 drinks a day adds up faster than you would think.
Two things almost everyone forgets: the cup that gets remade, and the milk that gets dumped at close. If you are not tracking waste yet, add 3 to 5 percent to your cost to cover it. No guilt, it happens in every shop.
Step 2: Pick a target ingredient cost
This is the number that turns cost into price. The formula:
Price = ingredient cost ÷ target cost percentage
Run the $1.20 latte through a few targets:
- 30% target cost: $4.00 price
- 25% target cost: $4.80 price
- 20% target cost: $6.00 price
You may have heard of the "keystone" rule, which just means doubling your cost. It works out to a 50 percent cost. On a latte that is a $2.40 price, which almost no one can run a shop on. Keystone is a fine shortcut for retail goods. For drinks, a target percentage works better.
Different drinks deserve different targets. Drip coffee and cold brew cost under 15 percent to make, so they help carry the menu. Mochas and blended drinks run closer to 30 percent. Price each one to its own numbers instead of one flat markup.
Step 3: Check it against everything else
A price that clears ingredients can still lose money. Here is an illustrative $5.00 latte at a shop with typical numbers:
- Ingredients: 24%, or $1.20 per drink
- Labor: 30%, or $1.50 per drink
- Rent: 10%, or $0.50 per drink
- Card fees: 3%, or $0.15 per drink
- Everything else (utilities, insurance, software, supplies): 15%, or $0.75 per drink
- Left over: 18%, or $0.90 per drink
Bellwether puts healthy benchmarks at 25 to 35 percent for COGS, 25 to 35 percent for labor, and 8 to 15 percent for rent. Net margins of 10 to 15 percent are the target, and under 5 percent is a warning sign. If your numbers sit at the high end of every line, a $5.00 latte leaves you almost nothing. That is why it helps to price from the full picture.
The good news is that the fix is rarely one big move. Look at where you are over benchmark. If labor is at 38 percent because you are overstaffed on Tuesdays, adjusting the schedule can help before a price hike does.
Step 4: Look at your market, then decide
Your cost math sets a floor. The market sets a ceiling. Walk to the three shops your customers would also walk to. Note their latte prices and what they charge for oat milk. Note the cup, the seating, the line.
A rough guide from the sources above: average lattes run around $4, and metro specialty bars charge $5 to $7. You do not have to match anyone. It just helps to know why you are higher or lower.
If your floor is above what the neighborhood will pay, that points to a cost problem more than a pricing problem, and costs are something you can work on.
Step 5: Price the modifiers on purpose
Milk alternatives, extra shots, and syrups are where margin quietly leaks. Oat and almond milk often cost more per ounce than dairy, and an extra shot adds coffee cost and bar time. Cost each modifier the same way you cost the base drink, then set the upcharge to cover it. A flat 50 cents on everything is easy to remember and often a little off.
Step 6: Raise prices in small, regular steps
Raising prices feels awkward, and that is normal. Most regulars notice a $1 jump. They rarely notice 25 cents twice a year. Pick a date, tell your team why, and have a one-sentence answer ready for the regular who asks. "Milk and beans both went up" is true, short, and almost always lands well.
Review prices every six months, and sooner if a supplier invoice changes by more than 5 percent.
Let your POS do the arithmetic
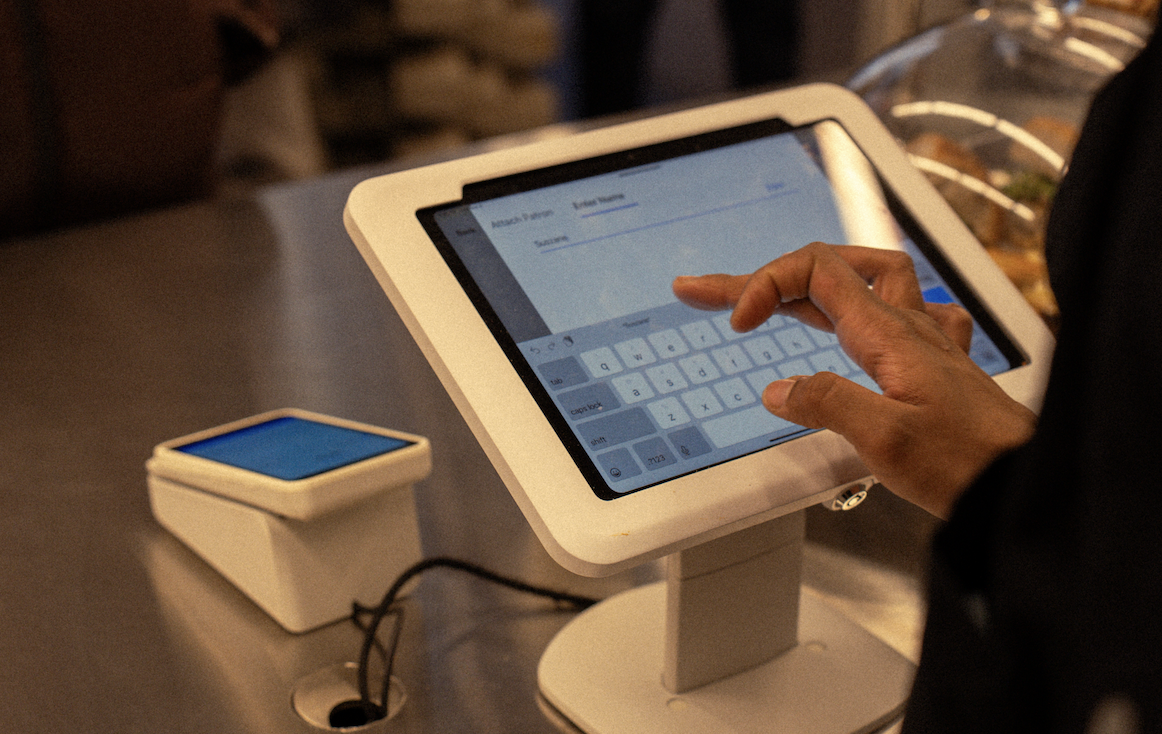
The hard part is not the formula. It is keeping your ingredient costs current so the formula keeps working. Dripos ties inventory to your menu, so recipes carry ingredient costs and your Cost of Goods report shows actual COGS percentage by product. Here is how the COGS report works.
Whatever you use, you do not need to get it perfect on the first try. Cost the drink, set a target, check the full picture, and revisit it twice a year. You have got this.
Sources: Bellwether Coffee and Coffee Machine Depot (linked above). Benchmarks vary by shop and region. Treat all example numbers as illustrative.